|
1 |

Click
to Enlarge
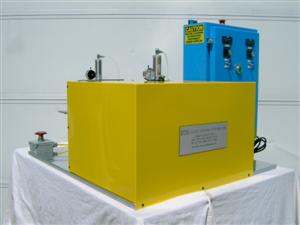
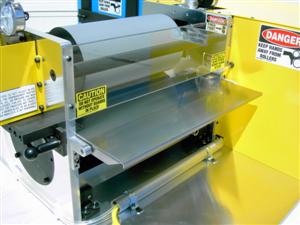
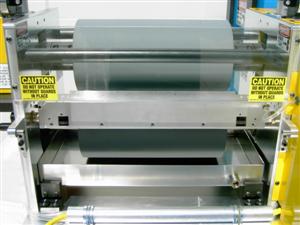
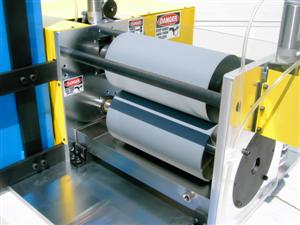
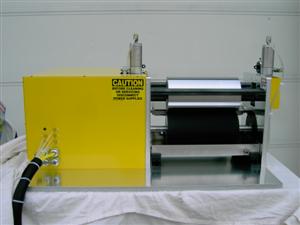
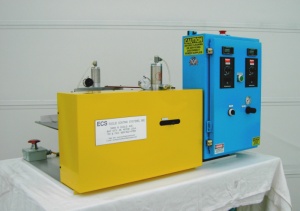
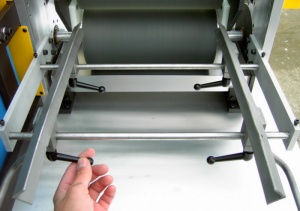
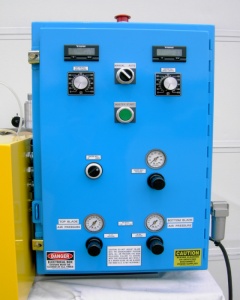
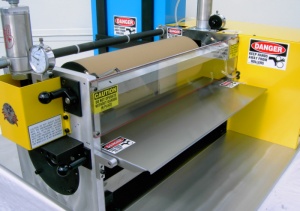
12” wide 2-roll Direct Gravure Lab Coater: Panel Side View |
2 |
Click
to Enlarge
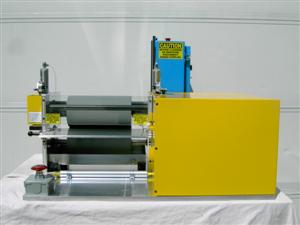
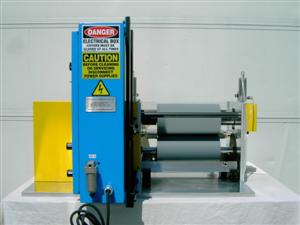
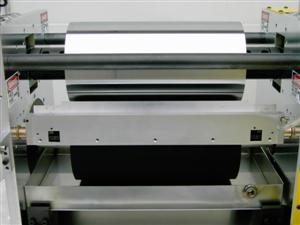
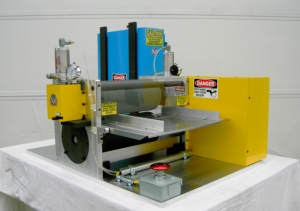
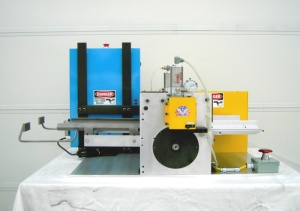
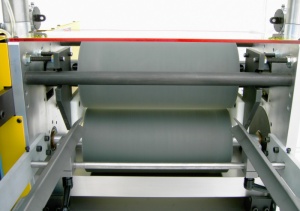
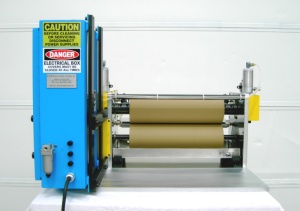
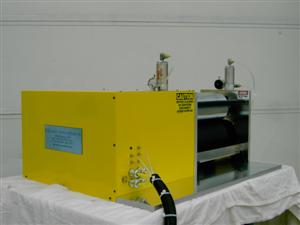
12” wide 2-roll Direct Gravure Lab Coater: Back Panel Side View with 2nd Emergency Stop button shown |
|
3 |
Click
to Enlarge
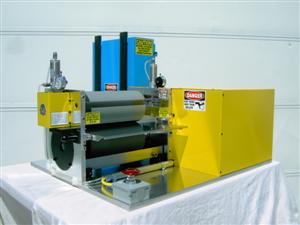
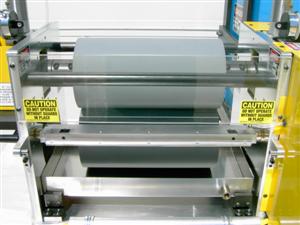
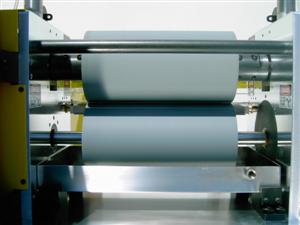
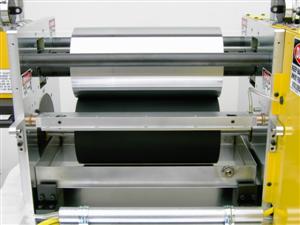
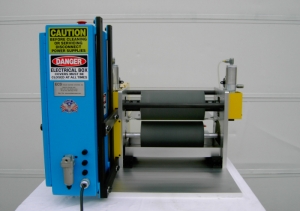
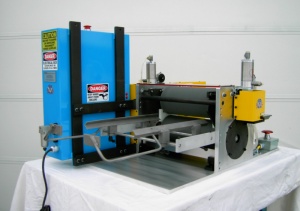
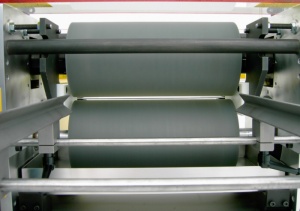
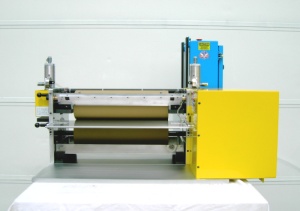
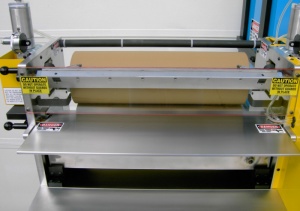
12” wide 2-roll Direct Gravure Lab Coater: Back View |
4 |
Click
to Enlarge
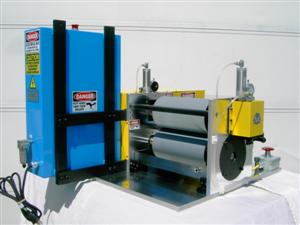
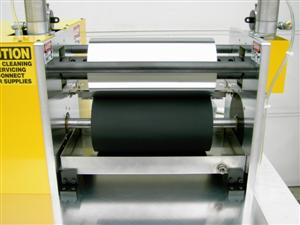
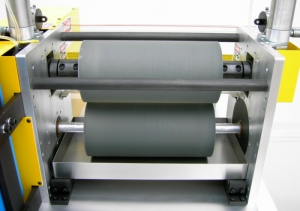
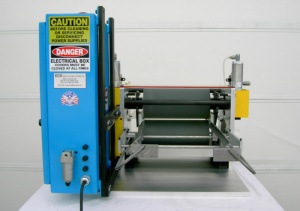
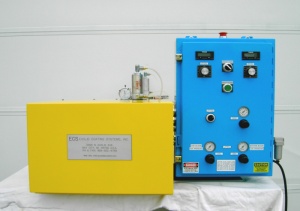
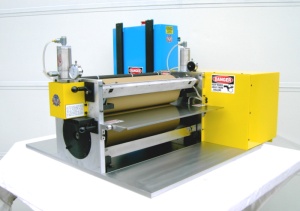
12” wide 2-roll Direct Gravure Lab Coater: Back Side View with 2nd Emergency Stop button shown |
|
5 |
Click
to Enlarge
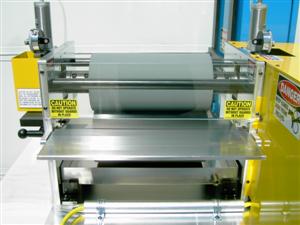
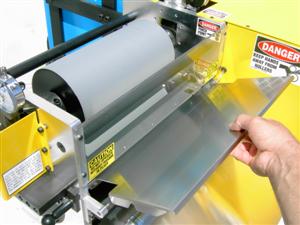
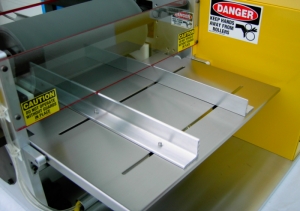
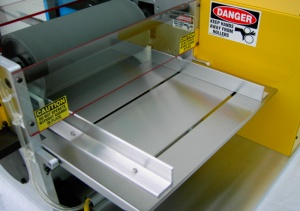
12” wide 2-roll Direct Gravure Lab Coater with Stainless In-feed Guide Tray and Lexan Guard |
6 |
Click
to Enlarge
12” wide 2-roll Direct Gravure Lab Coater with Stainless In-feed Guide Tray and Lexan Guard |
|
7 |
Click
to Enlarge
12” wide
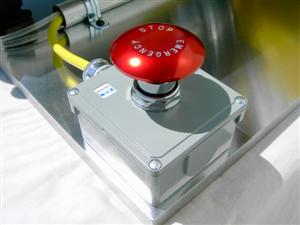
Close-up of 2nd Emergency Stop Button |
8 |
Click
to Enlarge
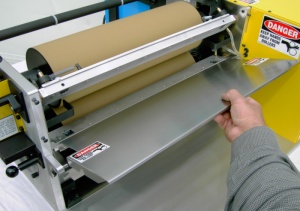
12” wide 2-roll Direct Gravure Lab Coater: Easy removal of In-feed Guide Tray |
|
9 |
Click
to Enlarge
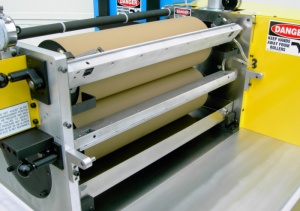
12” wide 2-roll Direct Gravure Lab Coater with
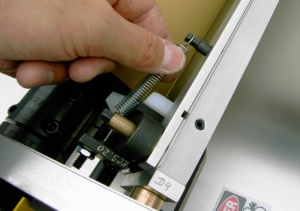
Stainless In-feed Guide Tray removed: Wiper Blade “Engaged” against Bottom Gravure roll |
10 |
Click
to Enlarge
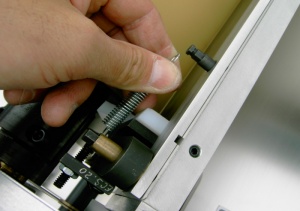
12” wide 2-roll Direct Gravure Lab Coater with
Stainless In-feed Guide Tray removed: Wiper Blade “Disengaged” against Bottom Gravure roll |
|
11 |
Click
to Enlarge
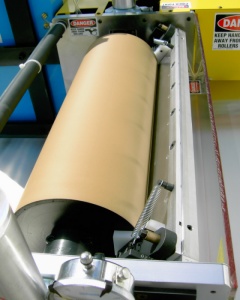
12” wide 2-roll Direct Gravure Lab Coater: Front View |
12 |
Click
to Enlarge
12” wide 2-roll Direct Gravure Lab Coater: Front Close-up View |
|
13 |
Click
to Enlarge
12” wide 2-roll Direct Gravure Lab Coater: Front Side View |
14 |
Click
to Enlarge
12” wide 2-roll Direct Gravure Lab Coater: Front Side Close-up View |
|
15 |
Click
to Enlarge
12” wide 2-roll Direct Gravure Lab Coater with special Top Chrome roll and Bottom Rubber roll:
Wiper Blade “Engaged” against Bottom Rubber roll |
16 |
Click
to Enlarge
12” wide 2-roll Direct Gravure Lab Coater with special Top Chrome roll and Bottom Rubber roll: Wiper Blade “disengaged” against Bottom
Rubber roll
|
|
17 |
Click
to Enlarge
12” wide 2-roll Direct Gravure Lab Coater with special Top Chrome roll and Bottom Rubber roll: |
18 |
Click
to Enlarge
12” wide 2-roll Direct Gravure Lab Coater with special Top Chrome roll and Bottom Rubber roll: |
|
19 |

Click
to Enlarge
12” wide
2-roll Direct Gravure Lab Coater with
2nd Emergency Stop button shown (front view) |
20 |
Click
to Enlarge
12” wide 2-roll Direct Gravure Lab Coater with
2nd Emergency Stop button shown (front side view) |
| 21 |
Click
to Enlarge
12” wide 2-roll Direct Gravure Lab Coater
(back view) |
22 |
Click
to Enlarge
12” wide 2-roll Direct Gravure Lab Coater
(back close-up view) |
| 23 |
Click
to Enlarge
12” wide 2-roll Direct Gravure Lab Coater
(shown with special adjustable in-feed guide tray) |
24 |
Click
to Enlarge
12” wide 2-roll Direct Gravure Lab Coater
(shown with special adjustable in-feed guide tray) |
| 25 |
Click
to Enlarge
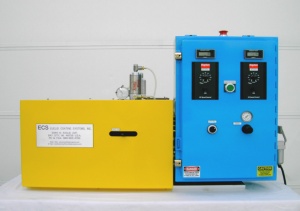
12" wide 2-roll Direct Gravure Lab Coater
(side control panel view) |
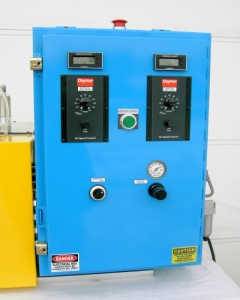
26 |
Click
to Enlarge
12" wide 2-roll Direct Gravure Lab Coater
(close-up control panel view) |
| 27 |
Click
to Enlarge
12” wide
2-roll Direct Gravure Lab Coater with
2nd Emergency Stop button shown (side view) |
28 |
Click
to Enlarge
12” wide
2-roll Direct Gravure Lab Coater
(side view of infeed and special catch tray for samples) |
| 29 |

Click
to Enlarge
12” wide 2-roll Direct Gravure Lab Coater
(back side control panel view) |
30 |
Click
to Enlarge
12” wide 2-roll Direct Gravure Lab Coater
(side view with special catch tray shown) |
| 31 |
Click
to Enlarge
12” wide 2-roll Direct Gravure Lab Coater
(back side view with special catch tray shown) |
32 |
Click
to Enlarge
12” wide 2-roll Direct Gravure Lab Coater
(close-up of special adjustable catch tray for samples)) |
| 33 |
Click
to Enlarge
12” wide 2-roll Direct Gravure Lab Coater
(close-up of special catch tray for samples) |
34 |
Click
to Enlarge
12” wide 2-roll Direct Gravure Lab Coater
(close-up of special catch tray for samples) |
| 35 |
Click
to Enlarge
18” wide Special 2-roll Direct Gravure Lab Coater
(Side Control Panel View) |
36 |
Click
to Enlarge
18” wide Special 2-roll Direct Gravure Lab Coater
(Close-up of Control Panel) |
| 37 |

Click
to Enlarge
18” wide 2-roll Direct Gravure Lab Coater
(back side view) |
38 |
Click
to Enlarge
18” wide 2-roll Direct Gravure Lab Coater
(back view) |
| 39 |
Click
to Enlarge
18” wide 2-roll Direct Gravure Lab Coater
(with special 2nd Top Wiper Blade added) |
40 |
Click
to Enlarge
18” wide 2-roll Direct Gravure Lab Coater
(with special 2nd Top Wiper Blade added) |
| 41 |
Click
to Enlarge
18” wide 2-roll Direct Gravure Lab Coater
(front side view) |
42 |
Click
to Enlarge
18” wide 2-roll Direct Gravure Lab Coater
(front view) |
| 43 |
Click
to Enlarge
18” wide 2-roll Direct Gravure Lab Coater
(infeed tray easily removable) |
44 |
Click
to Enlarge
18” wide 2-roll Direct Gravure Lab Coater
(infeed tray removed) |
| 45 |
Click
to Enlarge
18” wide 2-roll Direct Gravure Lab Coater
(Special Top Wiper Blade with Dams for coating) |
46 |
Click
to Enlarge
18” wide 2-roll Direct Gravure Lab Coater
(Removing dams from Top Wiper Blade) |
| 47 |
Click
to Enlarge
18” wide 2-roll Direct Gravure Lab Coater
(Removing dams from Top Wiper Blade) |
48 |

Click
to Enlarge
18” wide 2-roll Direct Gravure Lab Coater
(Removing dams from Top Wiper Blade) |
| 49 |
Click
to Enlarge
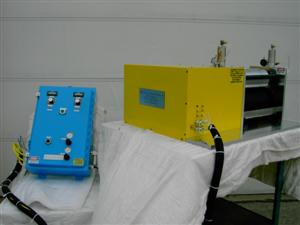
12” wide 2-roll Direct Gravure Lab Coater
Special Control Panel separated 10’ feet from machine |
50 |
Click
to Enlarge
12” wide 2-roll Direct Gravure Lab Coater
Stand-alone Control Panel mounted 10’ feet from machine |